Subcontractor manager guide
Subcontractor company manager
A builder has invited your company onto one of their projects. Working on invited projects is free. You see that project and the tasks the builder gives your company, and you can add your own workers if the builder allows it.
Accepting an invitation
- Open the email from TradieDash and set your password (the email may say "Reset your password". That is your invitation).
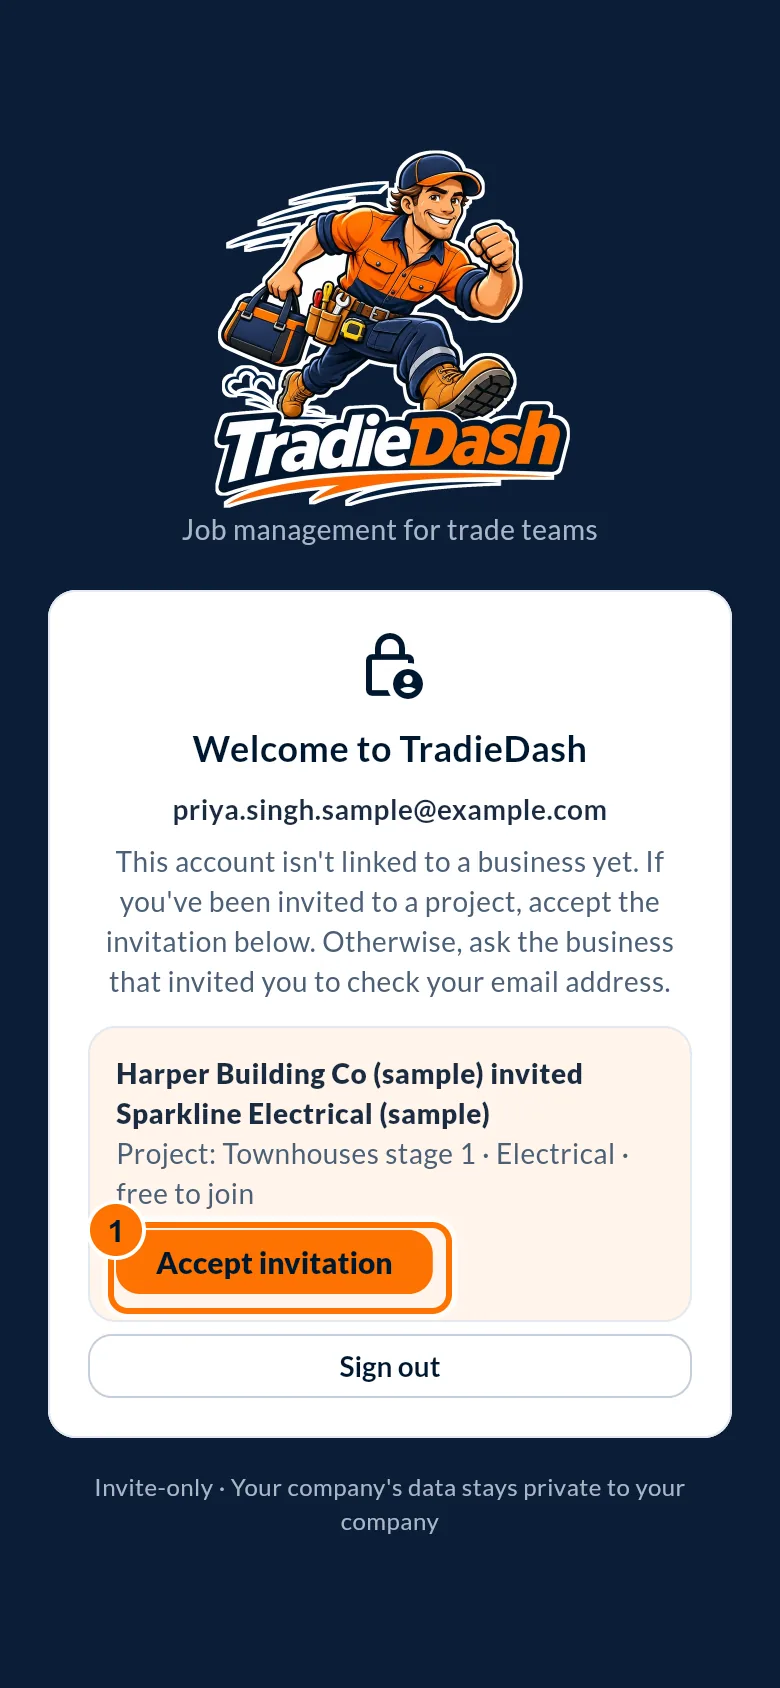
- Sign in at tradiedash.com.au/app. Your invitation is shown with the project name and trade. Press Accept invitation.
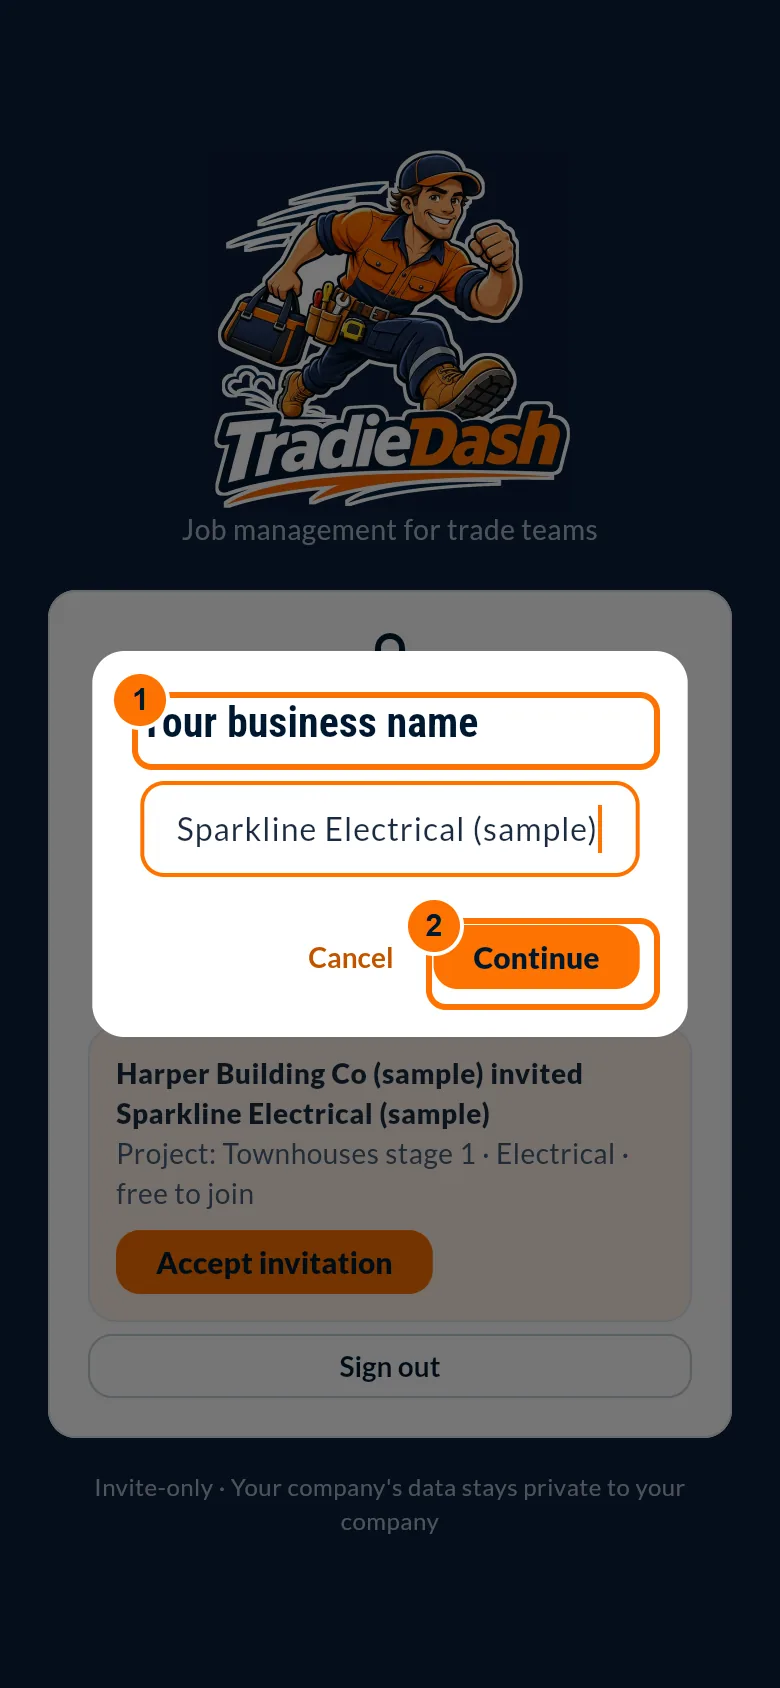
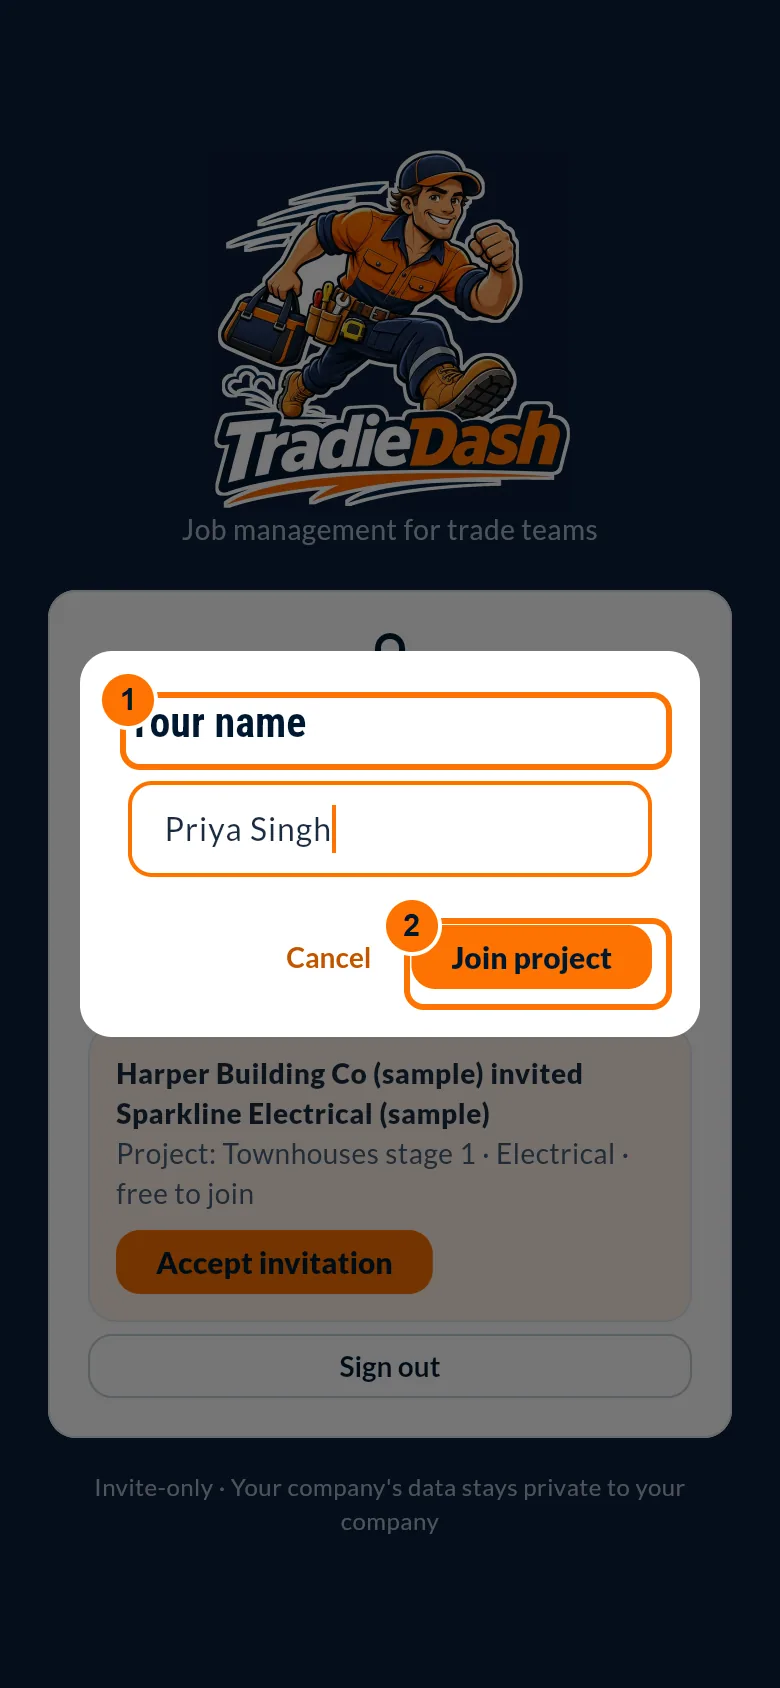
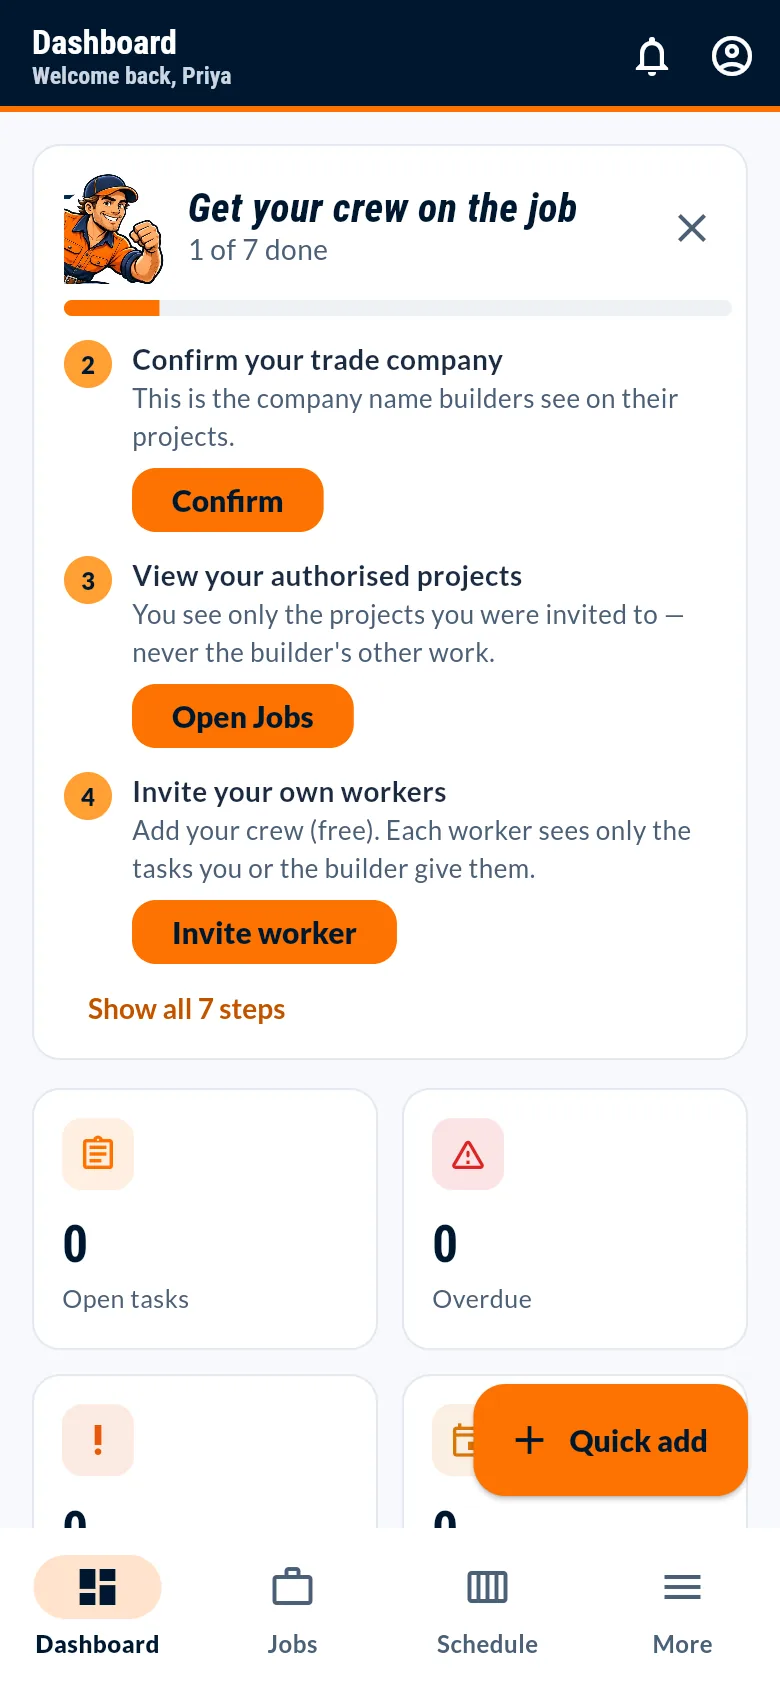
- Confirm your business name and press Continue, then enter your own name and press Join project.
Common problems
- I see "This account isn't linked to a business yet" and no invitation.
- The invitation was sent to a different email address, or it has expired or been withdrawn. Ask the builder to check People & access and resend it.
Accessing assigned work
- Open Jobs to see the projects you have been invited to.
- Open the project to see its address, instructions, documents and your company's tasks.
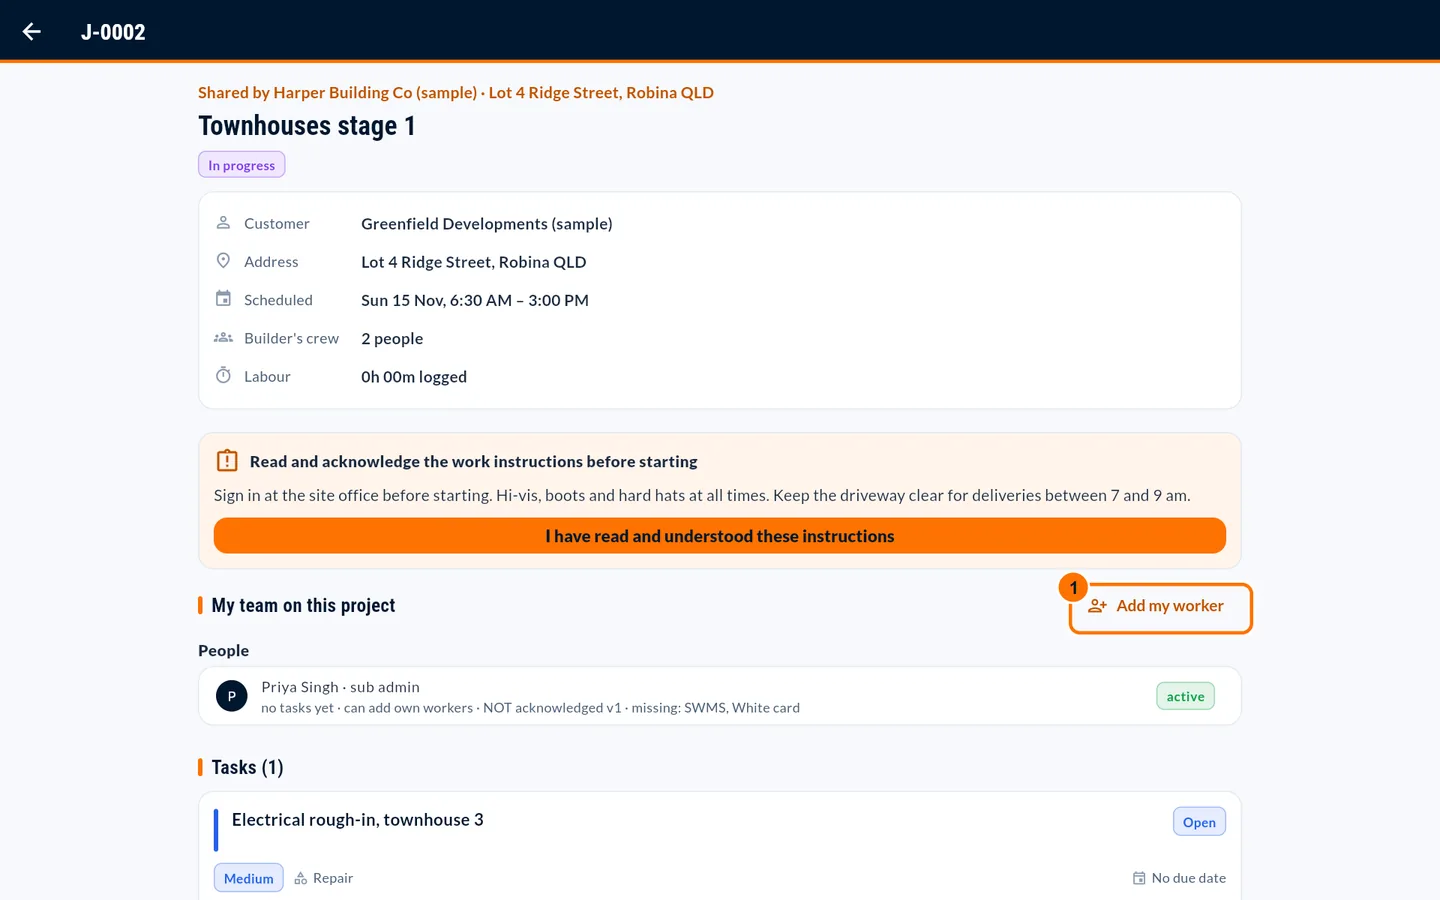
What you can and can't do
| You CAN | See this project's address, instructions and documents; work on the tasks given to your company; record progress, photos and time; add your own workers (if allowed). |
| You CANNOT | See the builder's other jobs, customers, quotes, invoices, prices or costs; see other trades' tasks; change project rules; invite other companies. |
Acknowledging current instructions
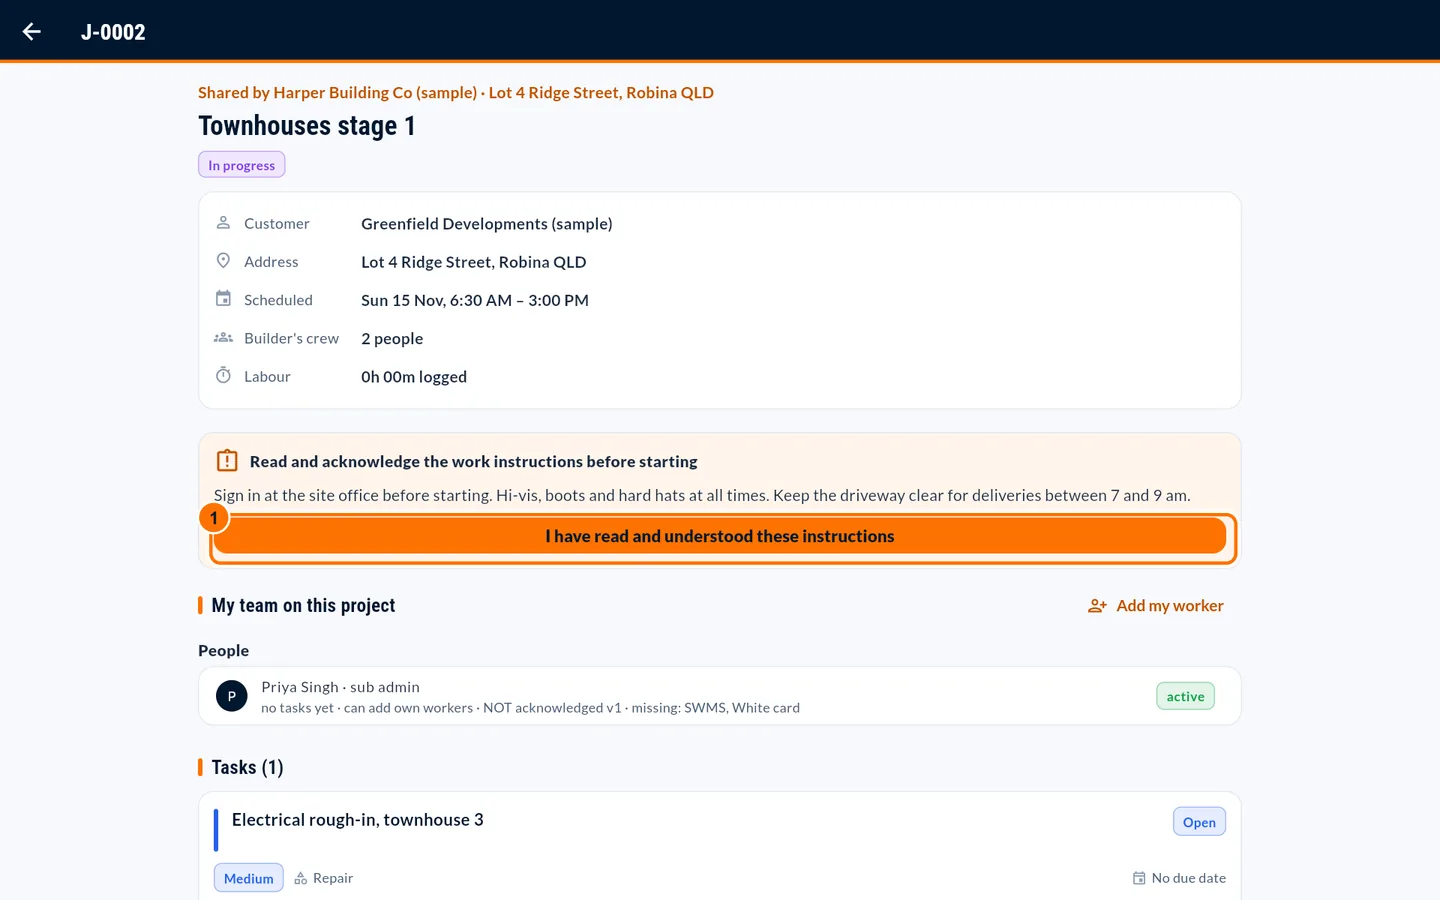
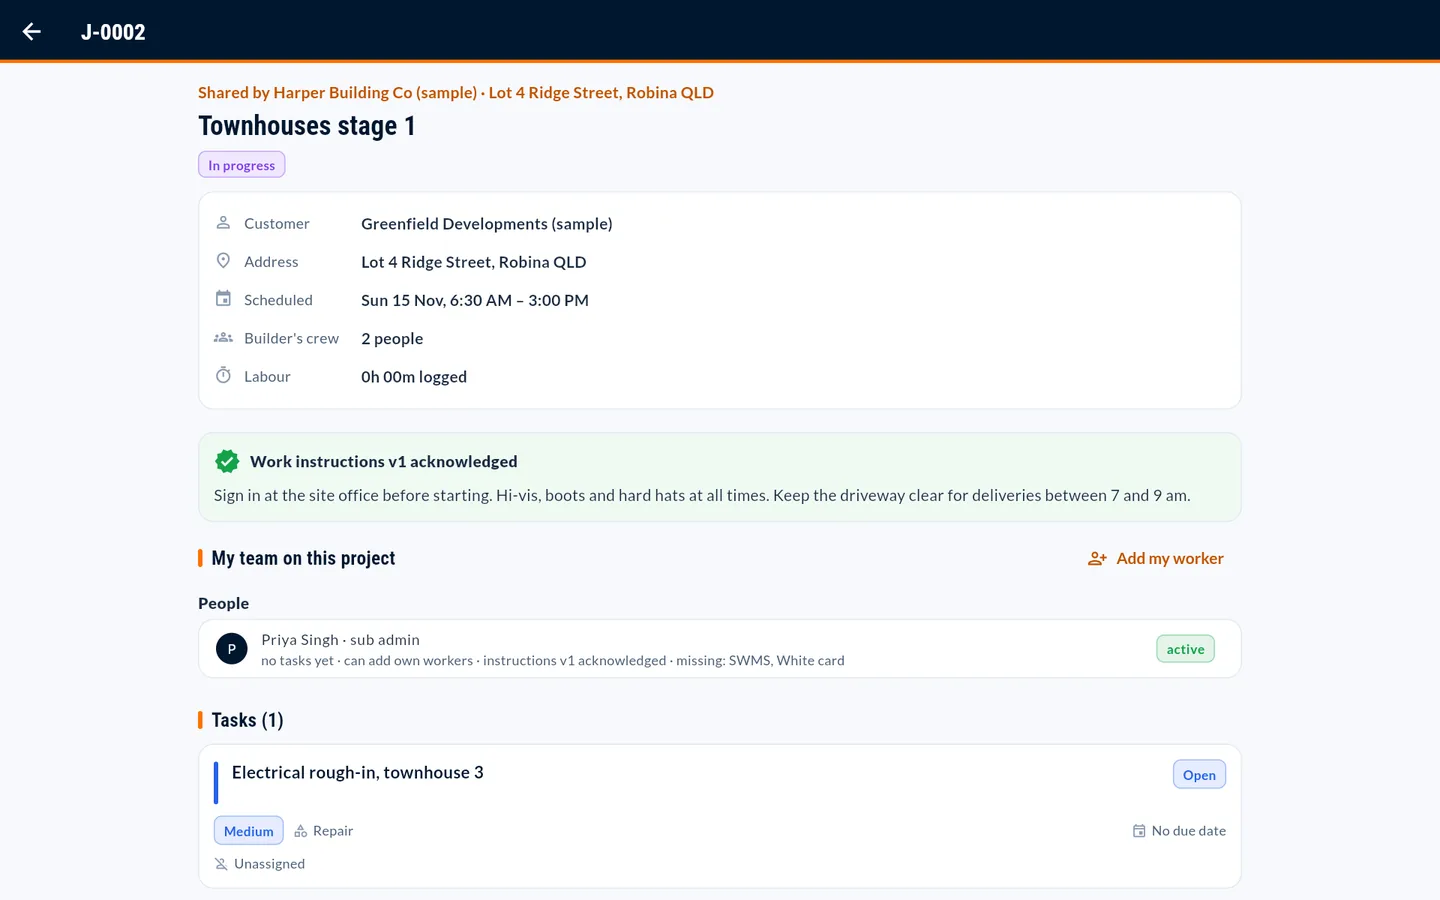
- On the project, read the work instructions and press "I have read and understood these instructions".
- If the builder publishes a new version, you will be asked to acknowledge it again.
Uploading required documents
- On the project, under Job documents, press Upload.
- Choose the document type. Documents the project requires are listed first, marked "required for this project".
- Pick the file (PDF, photo, Word/Excel or CSV, up to 20 MB).
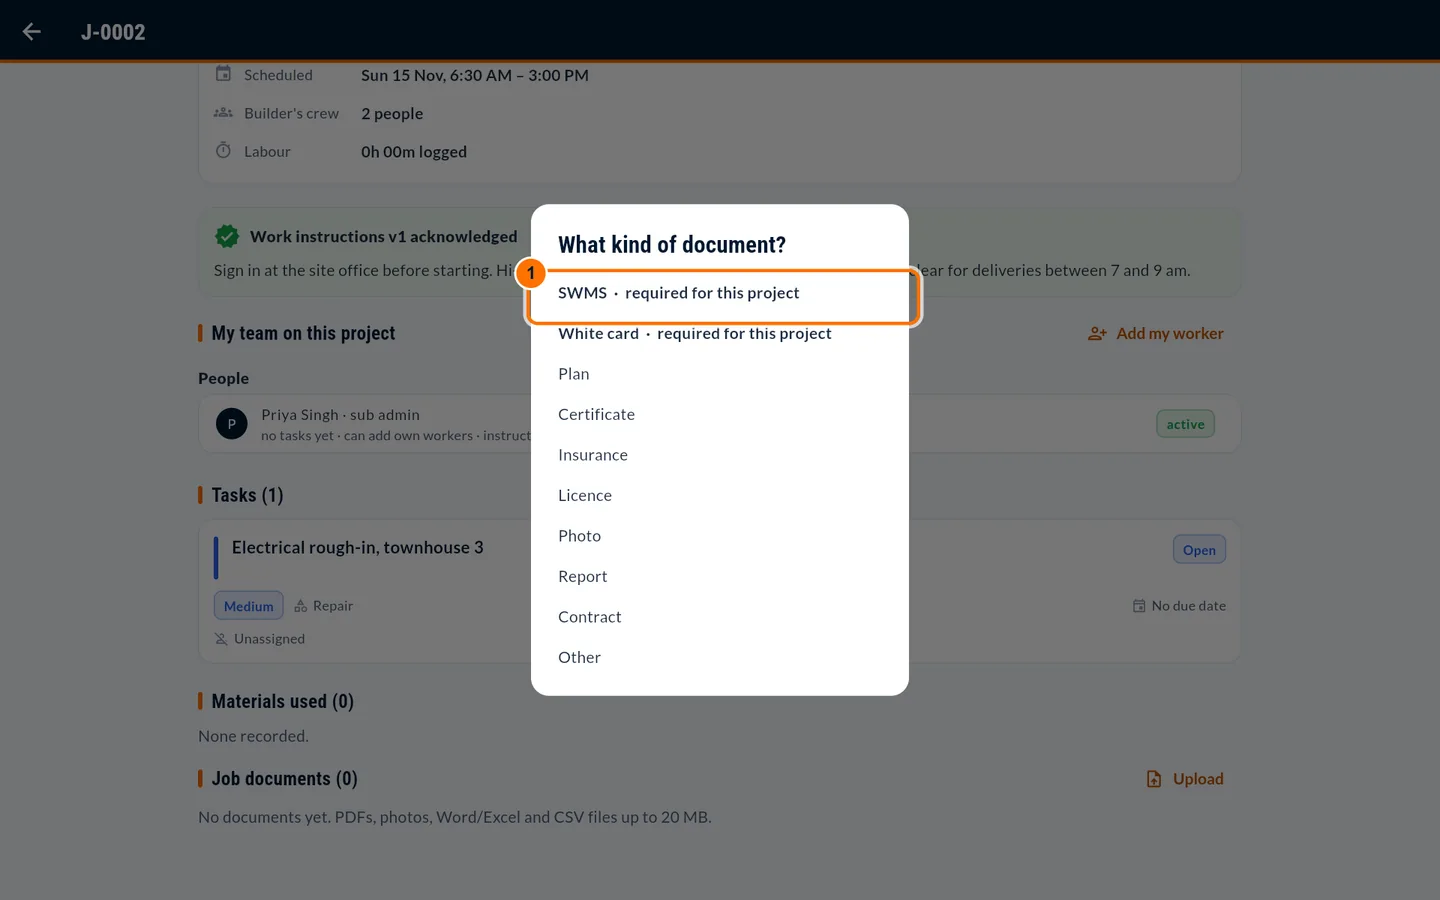
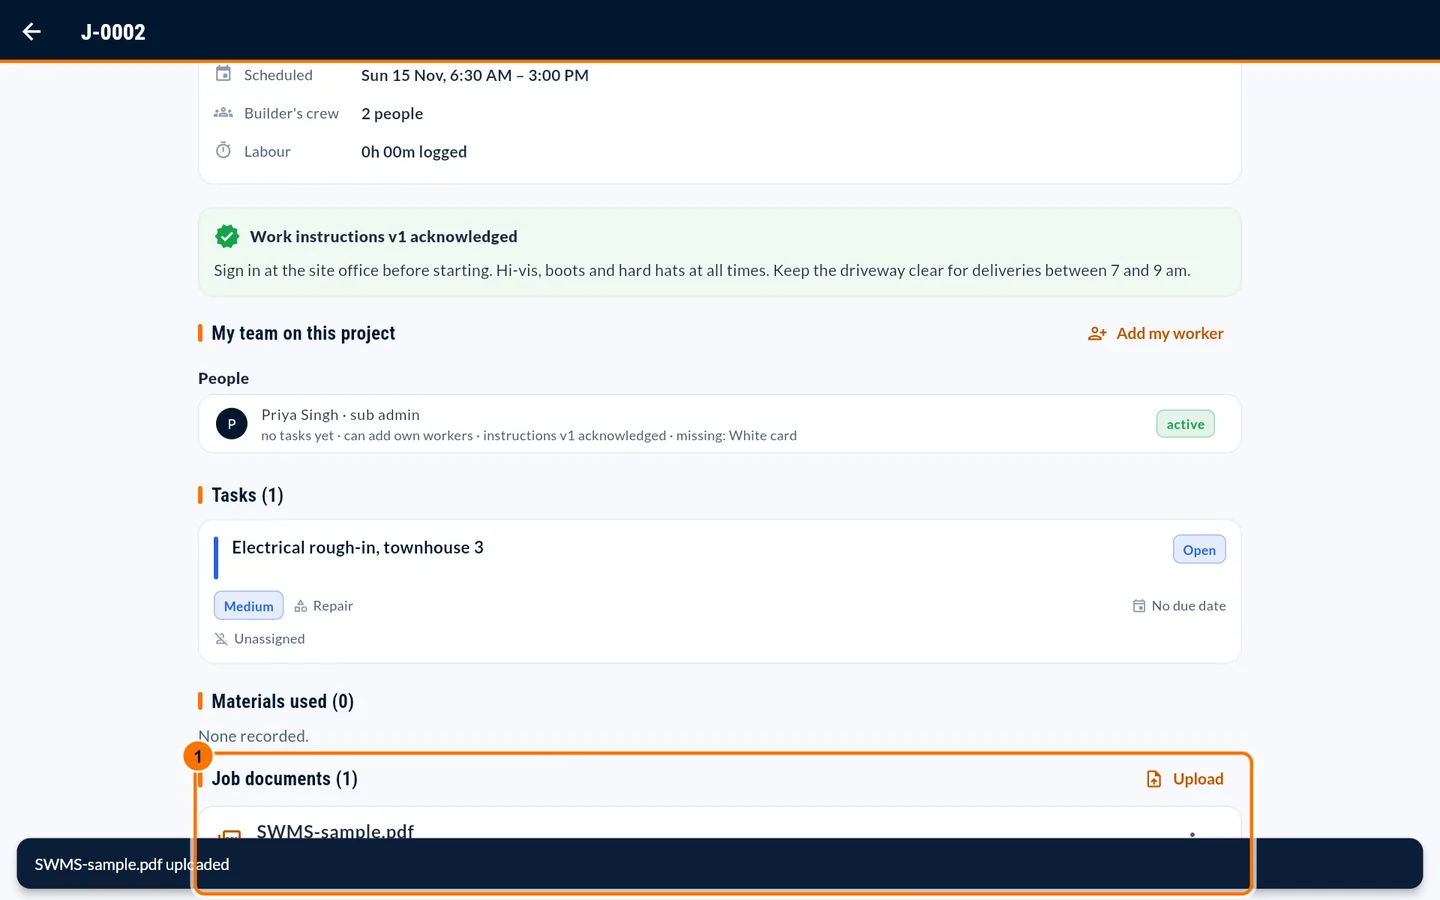
Result: The builder no longer sees that document as missing for you under People & access.
Adding your own workers
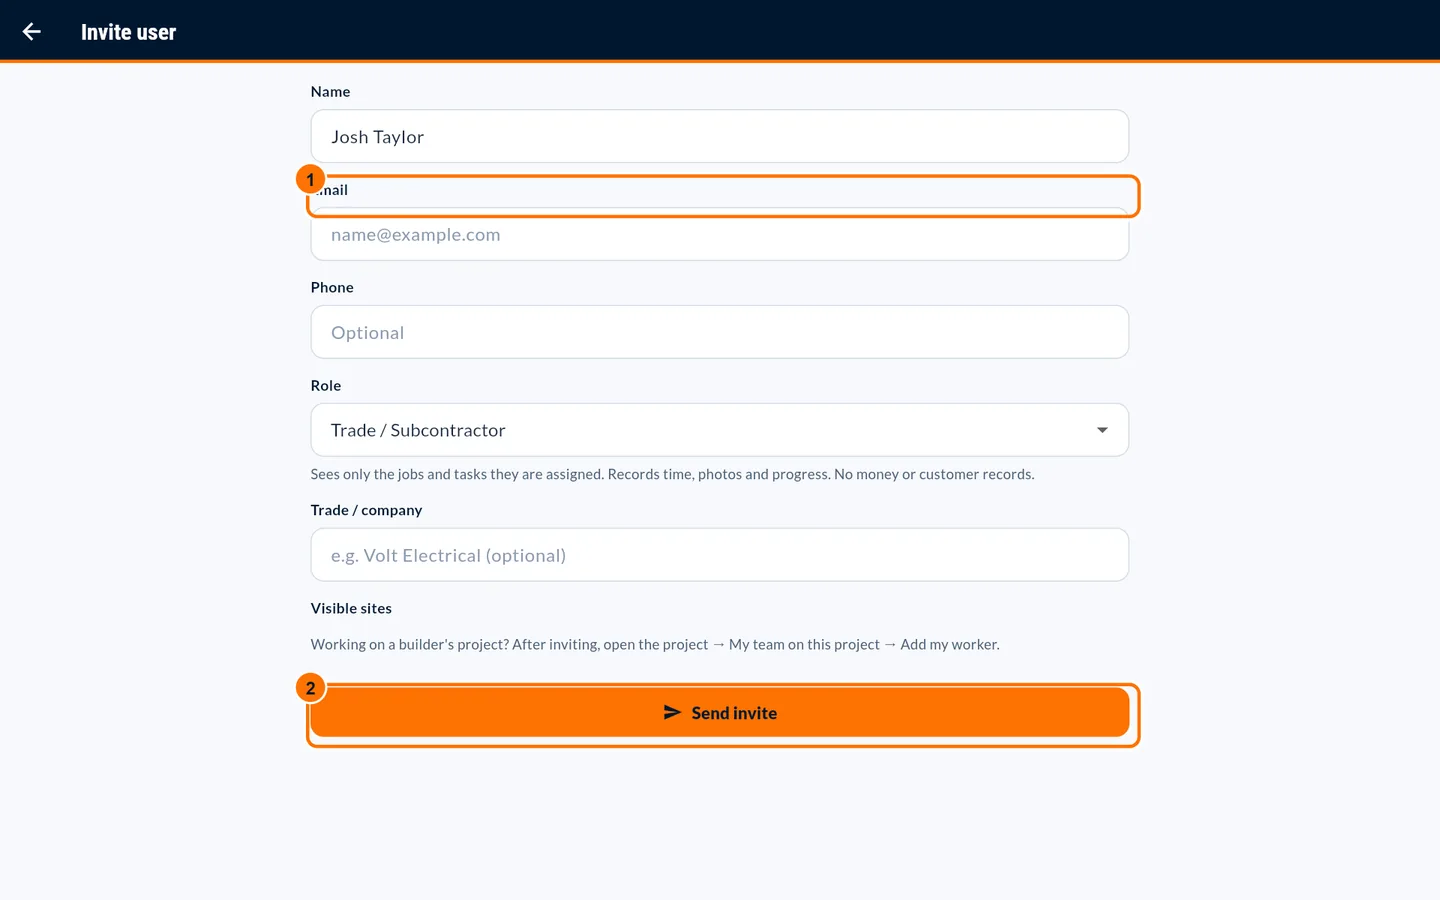
- More → Team → Invite user. Enter your worker's name and email and send the invite (free).
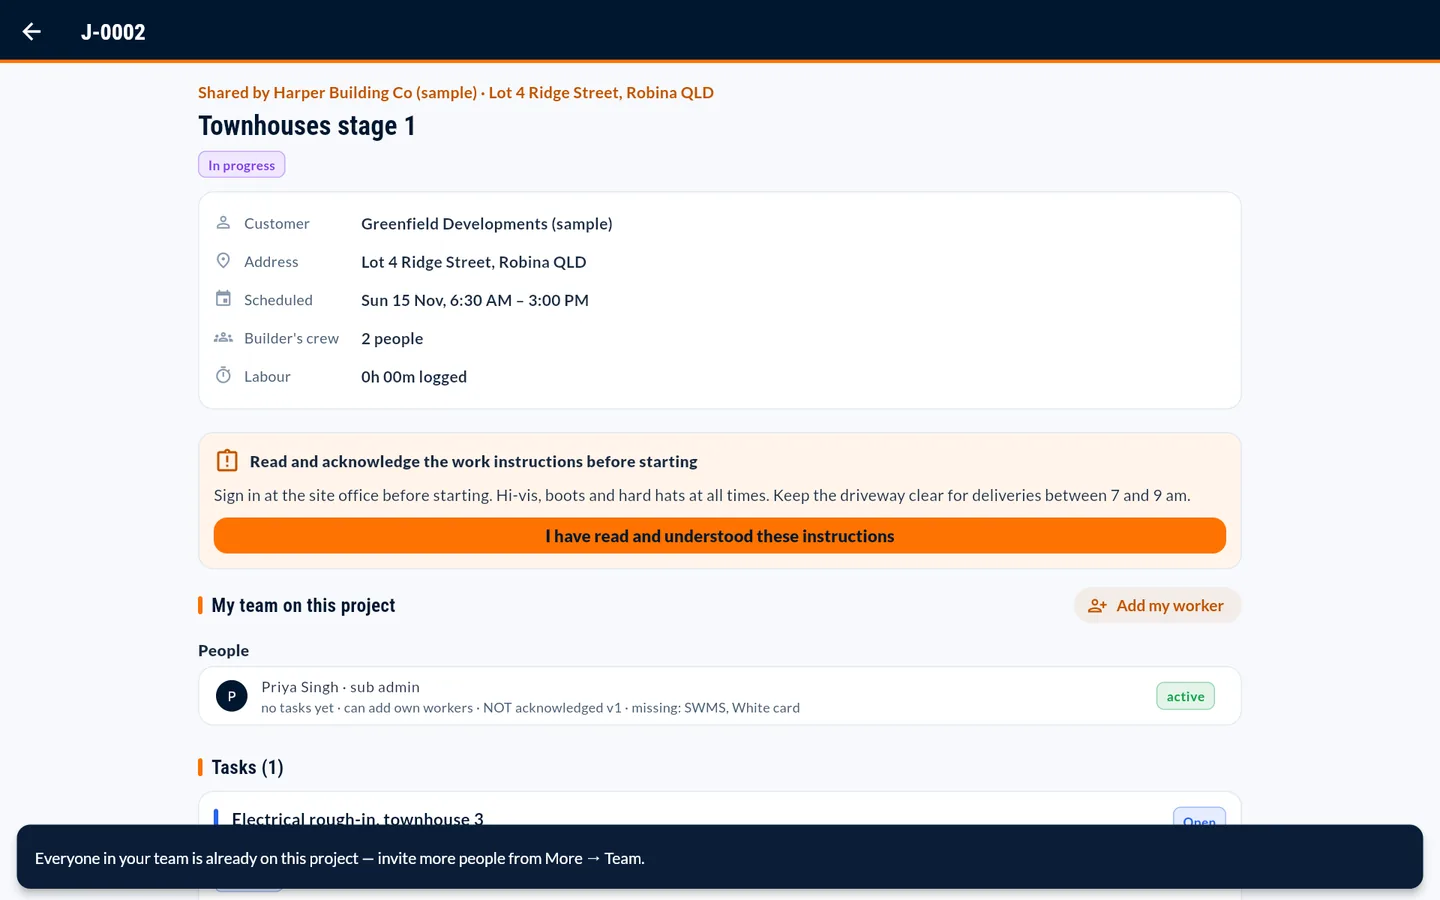
- On the project press Add my worker, choose them, then press Add to this project.
- Each worker sees only the tasks you give them.
Common problems
- "Add my worker" is missing.
- The builder has not allowed your company to manage its own workers on this project. Ask them to switch it on.
Reviewing and completing tasks
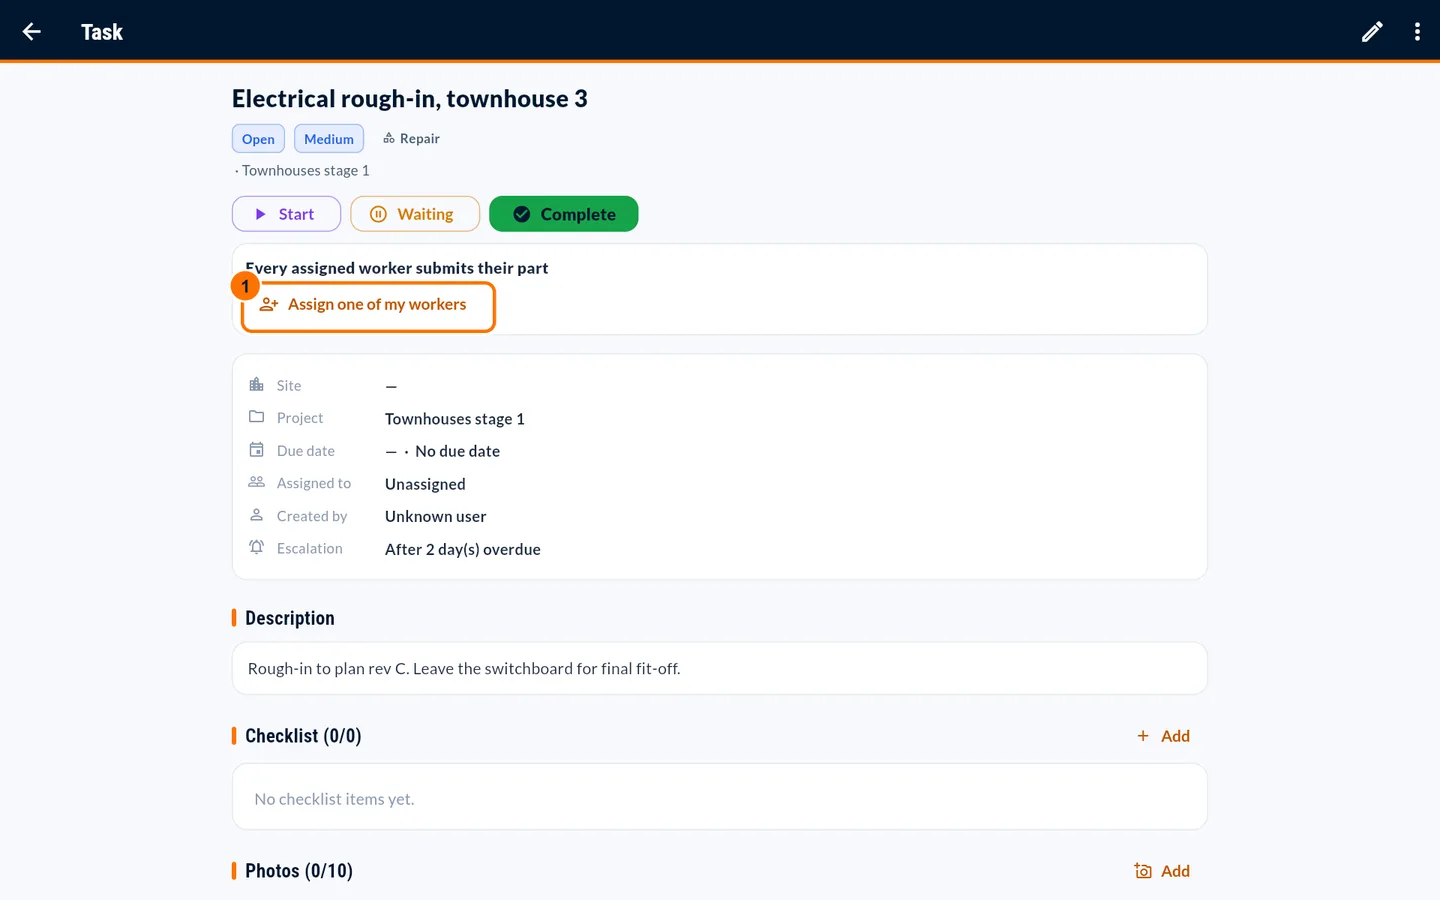
- Open a task given to your company. Use "Assign one of my workers" to hand it to your people.
- If the builder requires every assigned worker to submit, each person presses Submit my part. The task completes when everyone has.
- Add notes and photos as evidence. Required completion photos must be added before the task can be completed.
Screenshots show a fictional sample business. Your own screens show your data.